The product customizer lets you add your own design to a product, such as a shirt or canvas. The option to customize a product opens up so many creative possibilities!
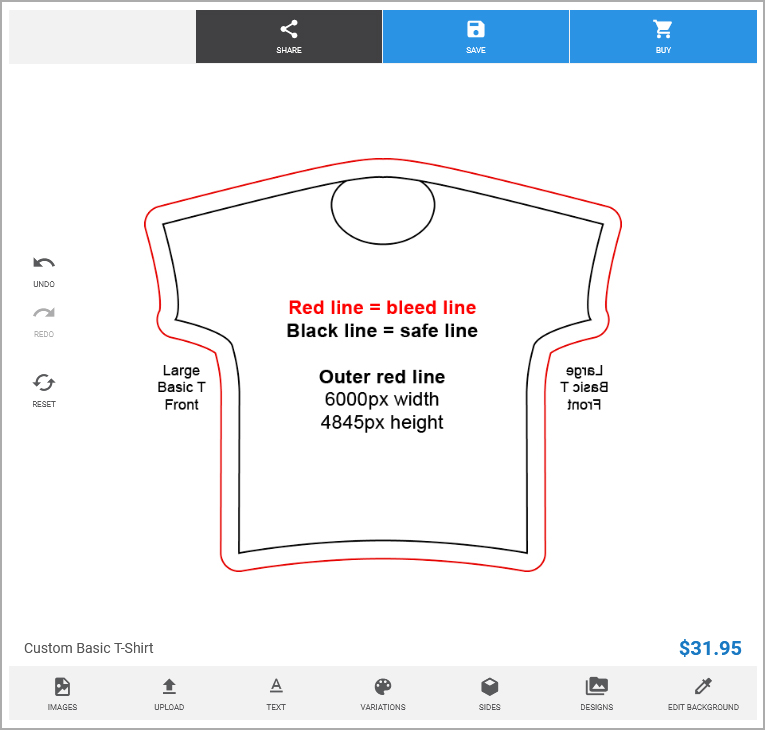
The first thing you will have to do is find the product you’d like to customize. For this tutorial, I’ve chosen the “Custom Basic T-Shirt,” but the basic functions of the customizer will be the same for any product you chose to create. After choosing your product, go to the product page and select “Customize.” You’ll then see a window pop up which looks like this:

Editing Tools
You’ll see buttons for zooming in and out on the left side, as well as undo, redo, and reset buttons. On the bottom left, you’ll see the different sides of the product you are able to customize. On the bottom right are the buttons to share, save design, and add to cart. The gray bar on the right side is the toolbar. You can see what each icon does on the bottom or by hovering over it with your mouse. I'll go through what each of these symbols does in more detail.
 |
 |
 |
 |
 |
 |
 |
 |
Images
The images button shows clip art that you can use in your design. You can type what you are looking for into the search bar. Once you find an image you want to use, just click on it to add it to your template. See, arranging your image.
Upload
If you want to upload your own image, click on the upload button. The accepted file formats are JPG, PNG, SVG, PDF, and EPS. If you want to upload an image with a transparent background, the PNG format will work best. If you are using a raster image, your it is recommended that the resolution be at 150dpi at the actual size it will be printed on your shirt. See, arranging your image.
Text
The text tool allows you to add custom text to your design. Once you click the text tool, a box will come up where you can type in your text. The text will be automatically added onto your template. You can then change the font and color and add different effects like curved text or word art. You can arrange the text on your shirt in the same way as an image. See arranging your image.
Variations
The variations are the different options you have for the product. For the shirts, you can select a different size, as well as what side/sides you want to have printed. Selecting a different option will not erase the design work you have down so far. An important thing to note is that once you finish designing a variation of the product, you must add that to the cart and then return to the product customizer to add other variations.
Sides
Click the sides button to see the different sides of the product you can customize. For the shirts, you can customize the front and back, depending on which variation you have chosen.
Designs
Click on the designs tool to see your saved designs. Please note that when you save your design, it is a temporary save and you won't be able to access the saved design if you change browser/device, cookies expire or you clean your cache.
Edit Background
You can use the edit background tool to add a background to your shirt. You will see a dropdown menu where you can choose a picture from image galleries, upload your own background image, or choose a solid color background. If you chose an image as your background, you will see the standard image editing tools except for the scale tool, which will be displayed as a slider on the bottom. See arranging your image.
Image Editing
You can use the image editing tool to adjust and apply different effects to your image. Once you click this button, a separate window will pop up. In this window, you'll see your image with a toolbar on the side. In this toolbar, you can transform your image, add filters, adjust your image, change the focus of your image, draw with a brush, add a frame, or add an overlay. The image editor can be a really fun tool, try experimenting with different effect. Once you are happy with your image, click save in the image editor and you'll be taken back to the main screen. From here you can access the picture you just edited from the image gallery in the upload tool.
Arranging Your Image
After inserting a text or image, you will see a dotted line around the image as well as symbols on each corner. You'll also see some additional tools on your toolbar. Here's what each of these symbols mean:
 |
|
Designing Your Shirt
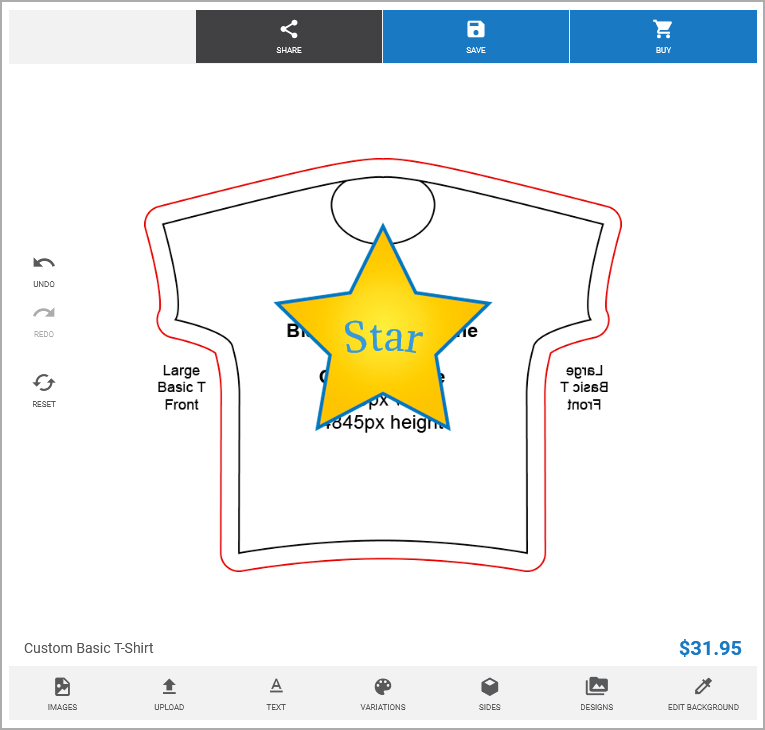
For this shirt, I used the edit background tool to make the background of the shirt purple. I then uploaded an image of a star and positioned that on the shirt. I made sure to save the star image with a transparent background using the PNG format, so I didn’t have a white square around it. I also placed text over the star using the text tool. This tool also allows you to add different effects such as curved text, which I did here.

When designing, it’s crucial to keep important elements well away from the edges of the shirt. When you first open the customizer, you can see the black line which indicates the edge of the shirt as well as the red line which shows the bleed. Your background must fill the entire bleed area to ensure that your shirt is printed correctly. If you forget where these lines are when designing, you can revisit the edit background tool and temporarily turn off the background. If I turn off the background of my shirt, I can see that the tip of the star will get cut off by the shirt collar so I may want to move it down a bit, resize it, or rotate it. I can see these functions at the corners when I click on the star. After clicking on the star, I also see some addition icons at the bottom of the toolbar. These icons allow me to duplicate the image, flip it, or change the order of the design elements.

Once you are happy with your design, click "add to cart." If you have enough shirts to get a quantity break in the price, this will show up in the cart page, but not the product customizer. You can also change the quantities of each shirt design from the cart page.

